
So, W announced the other day that she Desperately Needed A Mermaid Costume. We’ve been doing a lot of swimming this summer (and playing mermaids), so I suspect that was the genesis. I’m not a big fan of pre-fab costumes; they’re cheaply made for what they cost, and I figured that the odds of finding a non-Disney* mermaid costume (without doing an Etsy order) were pretty slim. Anyway, in her typical W way, since she didn’t want something Ariel-specific, I knew she would have lots of STRONG opinions about how the costume should look, so I turned to the Interwebs.
*We have nothing against Disney, but W isn’t a big fan of those cartoons; she finds them horrifyingly scary – which, if you think about it, they kinda are (I’m lookin’ at you, Lion King).
I found this excellent tutorial, which I used (with some modifications) for the tail portion of the costume. I just sort of winged it on the top. One thing I tried to keep in mind throughout was building in room for growth; specialty fabric isn’t cheap, and while the costume didn’t require advanced sewing skills, it took a while (about 4 hours, though I was slowed down by the constant running commentary, offers to “help,” and requests for status updates from the peanut gallery). Anyway, by building in some growing room, I figure I’ll be off the hook on another mermaid outfit for at least 2-3 years. I’ve provided my tips for building in room to grow in the instructions below, though bear in mind that my child appears to grow UP without adding any significant girth; she can add 4 inches in height without putting on a single pound. As such, I worried only about costume length. If your child also grows out (as normal kids do…) you might need to modify the “room to grow” instructions, or leave them out entirely.
We started at the fabric store (JoAnn, in this case), where W can drop a frighteningly large wad of (my) money in no time. I had her pick three fabrics: A stretchy one for the body of the “tail” (the stretch is important here). She went with a very lightweight knit with shiny ruffles:

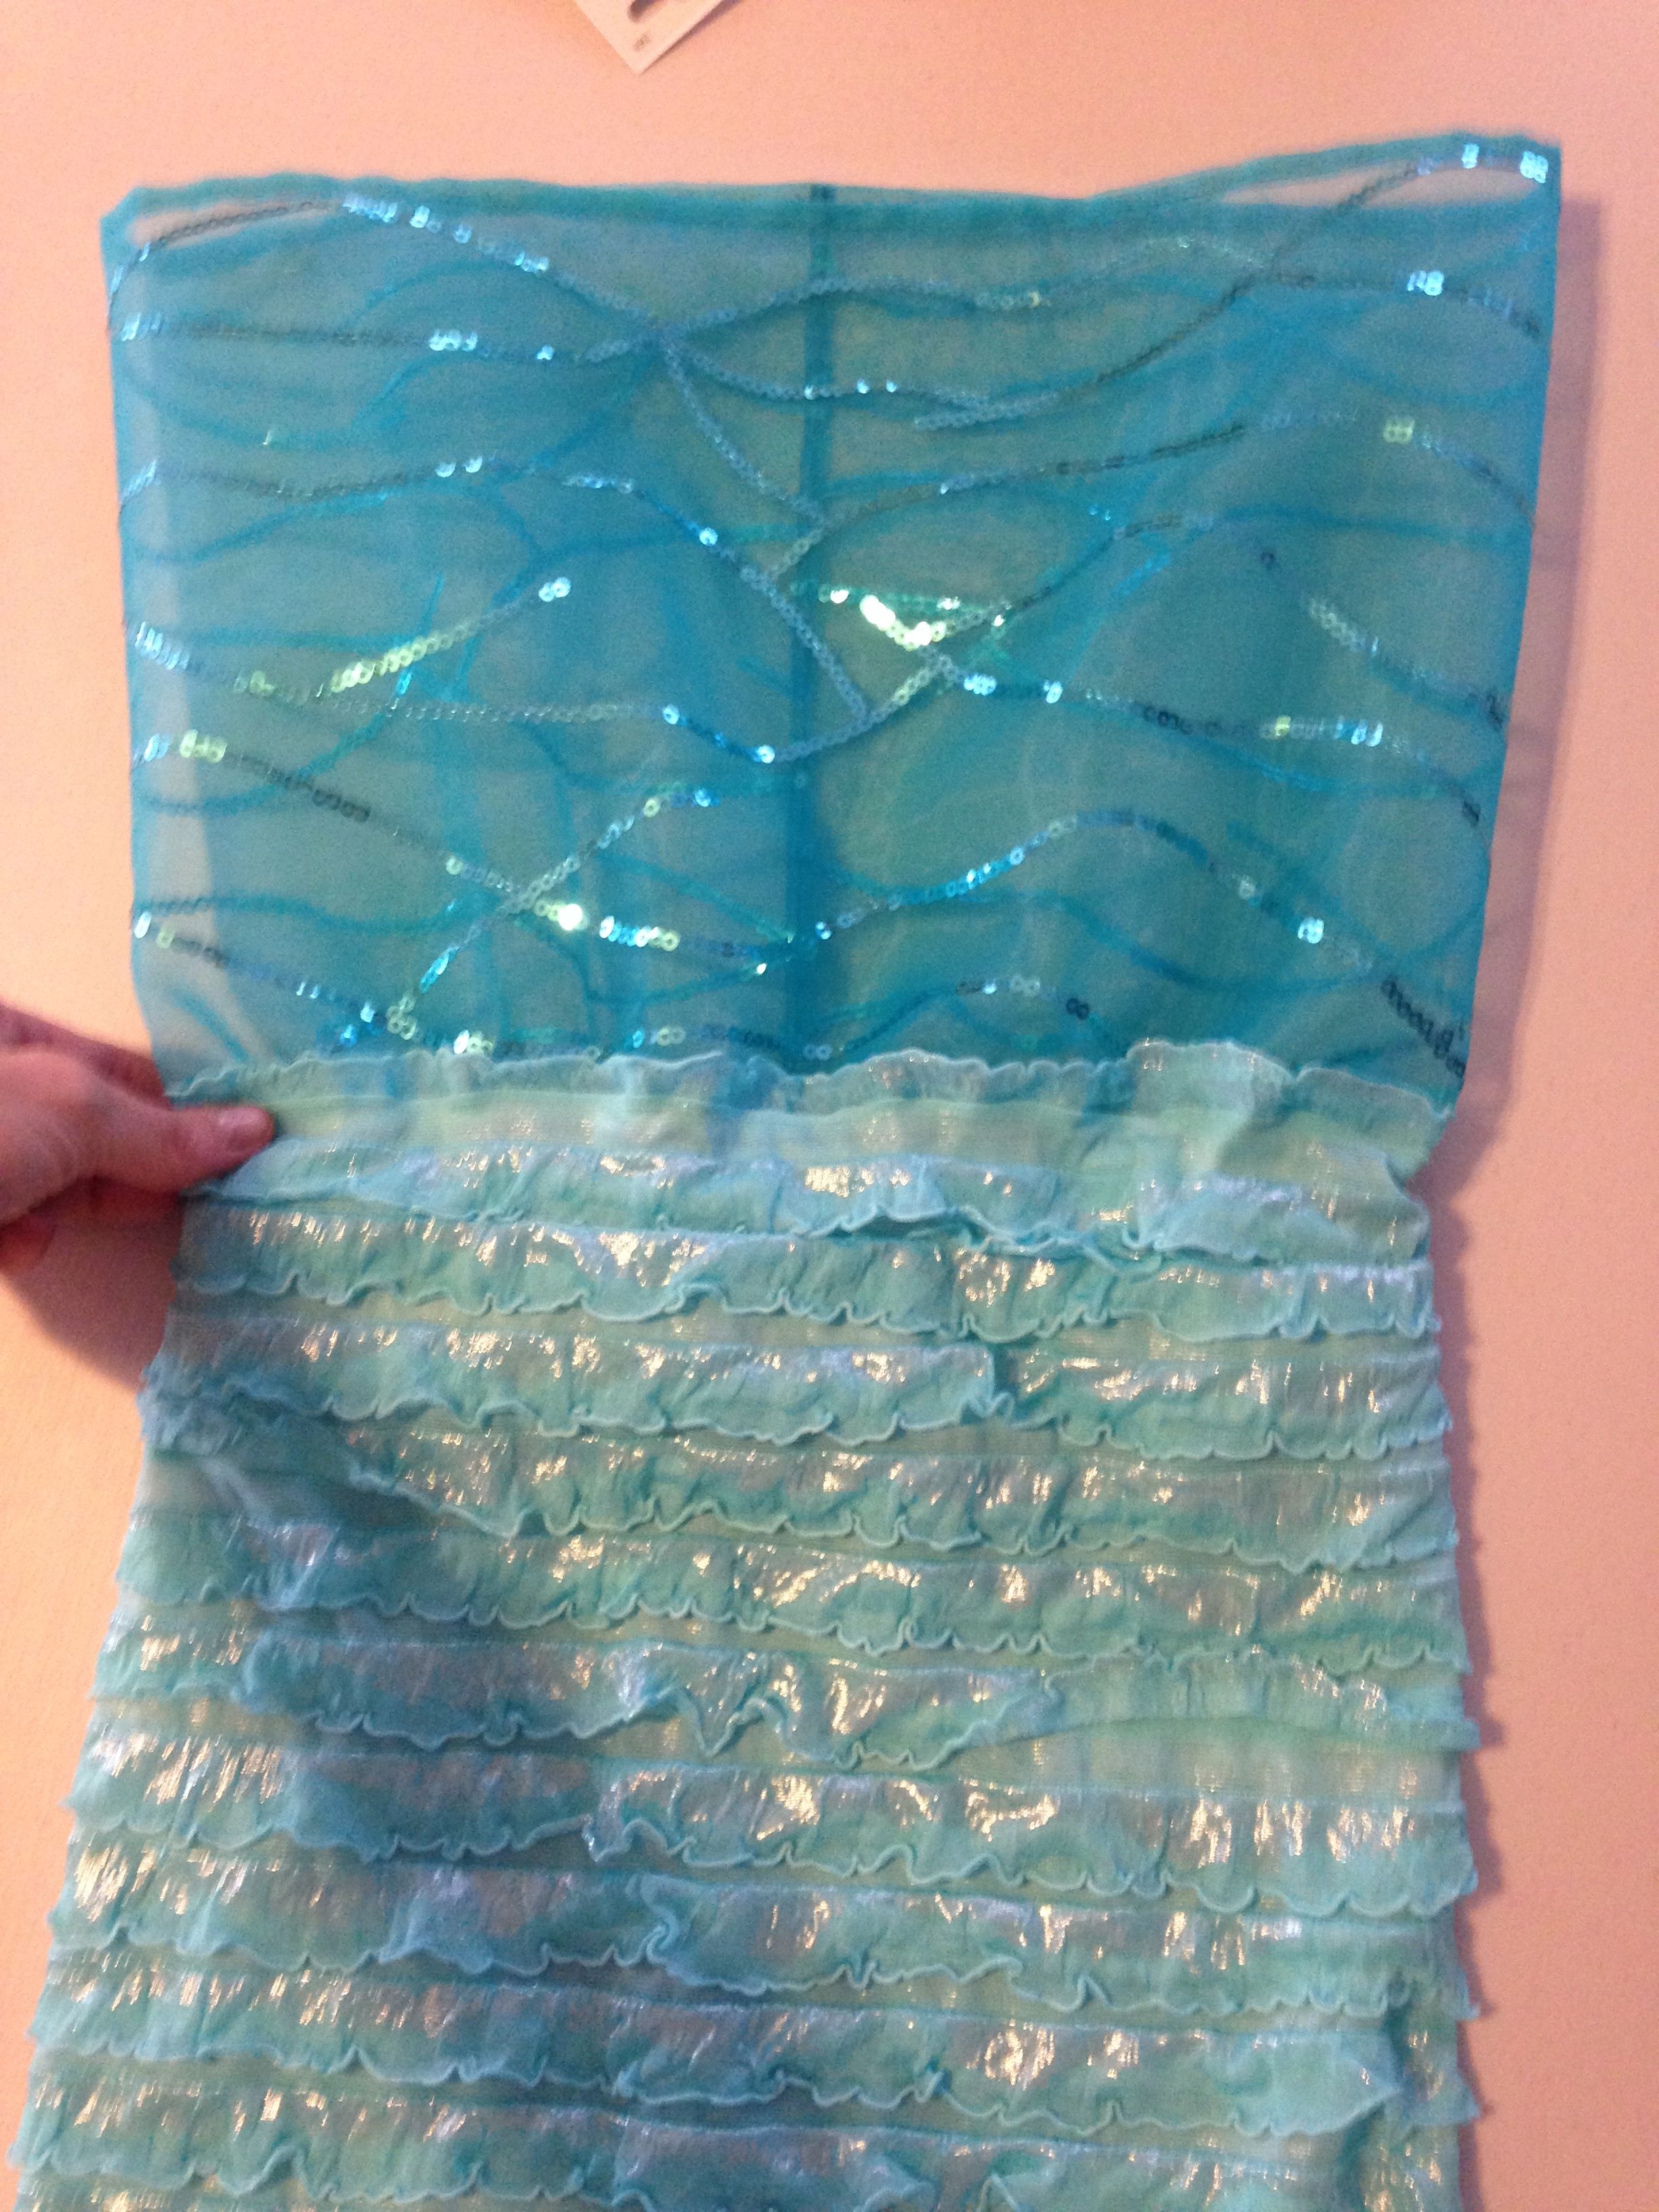
Anything that will make lots of nice fluffy ruffles (chiffon, tulle, organza) will work well for the decoration around the waist as well as the “fins.” She found some organza with sequins in random wave-like patterns:

For the tank top, stretch is once again important. W chose some shiny lycra (similar to what a leotard might be made of) for the top:

I started by making a long tube of the tail fabric. As in the tutorial I linked to earlier, I didn’t taper the tube at all; I kept it all one circumference so she would be able to walk freely. Once the fins are on, the tail will appear tapered even though it isn’t really. In the interest of room to grow, I made the circumference about two inches larger than her current waist measurement. There will be elastic in the waist to take up the extra. It’s probably not necessary to pin to put the tube together if you don’t want to, but I had to make sure all my ruffles were lined up, so I pinned:

I used a zig-zag stitch (any stretch stitch will do). Here’s the tail tube, right-side out:

If you’re curious, for my (slightly undersized) 3.5-year-old, I went with a 25″ circumference on the tail. Right now, it’s WAAAAY too long, but we’ll shorten it later.
At the top of the tail, I folded about 3/4″ of fabric toward the inside of the tube and secured with a zig-zag stitch, leaving about 1″ open (so I could insert the elastic). If I weren’t worried about growth, I’d finish closing that last inch after inserting the elastic, but I wanted to leave it for access so I could adjust the elastic later as she grows. Because the fabric is jersey, it won’t unravel, so I wasn’t worried about the unfinished edge. I didn’t put the elastic in just yet; I didn’t want to wrestle with it while I was doing the rest of the sewing near the top of the tail. Here’s the waistband, without elastic:

Next, about an inch below the waistband, I made a 1.5″ pleat of fabric TOWARD THE INSIDE OF THE TUBE. This resulted in taking in a total of 3″ of length, and hiding it inside the tail. I secured the pleat with a straight basting stitch, so that I’d be able to easily pull the stitches out later and make the tail 3″ longer as she grows. This is a view of the pleat on the INSIDE of the tube. From the outside, it’s invisible:

I made sure to leave about 1.5″ (or so) between the waistband stitching and the pleat; into that area, I secured the organza for the waistband decoration. I cut about 30″ x 9″ of organza (the longer measurement should be several inches more than the circumference of the tail itself, because organza doesn’t stretch. The shorter measurement will determine how “fluffy” the waistband decoration is. Longer = fluffier. I did a 1/4″ rolled hem on one long side of the organza, connected the two shorter sides (to make a tube), and pinned to the tail with right sides together. Since the organza (or whatever your fabric is) tube has a slightly larger circumference than your tail tube, you’ll need to stretch the tail fabric slightly as you sew. I then secured with a zig-zag stitch. In this picture, the decoration is hanging down over the tail, right sides together (wrong side of the organza showing):

When the organza is “flipped up” to make the waist decoration, the stitching and hem of the organza will be hidden, like so:
If you’re curious about the placement of the “room to grow” pleat relative to the organza, I have my thumb right on the top of the pleat here:

See? Can’t see it from the outside, and it hangs down inside the tail/skirt, totally out of the way.
To complete the waist decoration, I gathered the organza right at the center front of the tail (seam at the back):

I then hand-stitched a decorative button (anything pretty would work…a flower, a shell…) to the gathered point:

The organza basically becomes a loose, ruffly bit of flair around the waist, hiding the waistband and adding to the whole mermaid look. Incidentally, the button has a funny story: I REALLY didn’t like it when she picked it out at JoAnn, and tried to talk her into a shiny white shell button, but she insisted. In the end, she was totally right: it looks perfect. It even has a shell design on it, which I never noticed because I was too busy arguing with her:

My kid has the most amazing eye for design.
For the fins, I cut two pieces of organza, each about 24″ x 8″. Using W as a model, I cut length off the tail tube until it reached just above her ankles. I then made angled cuts from the center to each side:

I pinned each piece of organza as in that same tutorial again, the only difference being that I made pleats both front AND back. As in the tutorial, I left about 2 inches of organza hanging off both front and back. After stitching the fins on (zig-zag again), I cut the free-hanging ends into a semi-circle (as in tutorial) and used fray-stop to seal all the raw edges. I didn’t hem the fins at all; I liked the raw edge (sealed w/ fray-stop) look. Here’s the completed tail with fins, front and back:


The tank top started in a very similar fashion: just a tube of fabric. I didn’t worry about adding any pleats for growth; if she grows a little, her tummy will probably start to show, but hey…it’s a mermaid costume. I hemmed the bottom of the tank top using a twin needle (great tutorial here). This produces a stretch stitch that looks a little neater than a zig-zag where it shows from the outside: perfect parallel lines.


I didn’t hem the top of the tank; I planned to put some decoration up there, and the lycra won’t unravel. I attached pretty sequined elastic for the straps of the tank, and to make things more comfortable, I attached the straps to the OUTSIDE of the tank. Wait, won’t that look funny? Wait and see!
I then used a very long zig-zag stitch (so it wouldn’t show too much) to attach some pretty flower ribbon around the top of the tank. This covered the ends of the straps so they didn’t show, and also hid the unhemmed upper edge:

On the inside, there are no sequins or anything rough to irritate her skin:

Cool, right?
Last step was to hand-stitch a flower she found at JoAnn to the front of the tank. I also used a glue gun and some leftover strap elastic to make a matching headband:


Aaaand…here’s the finished product, on my very happy mermaid:

This would be very easy to modify however you’d like to; you could make the top short (so it looks like a mermaid bikini top) or just use a swim suit top, you could taper the tail so it fits tighter (though be sure your child has room to walk…), and there’s PLENTY of room for ribbons, bling, and other mermaid fanciness.

1 Comment (+add yours?)